Procedural Dungeon Generation in Godot
Welcome back!
Today we are going to be using an algorithm called Binary Space Partitioning (BSP) to create a dungeon in Godot. We won’t be going into as many of the basics in Godot as we did last time.
If you haven’t already, have a look at my tutorial for cellular automata in Godot here.
Before we hop into coding. Let’s have a look at what BSP is and how we can use it to generate maps for a video game.
What is BSP?
Essentially BSP uses a tree structure to split a space into two partitions recursively.
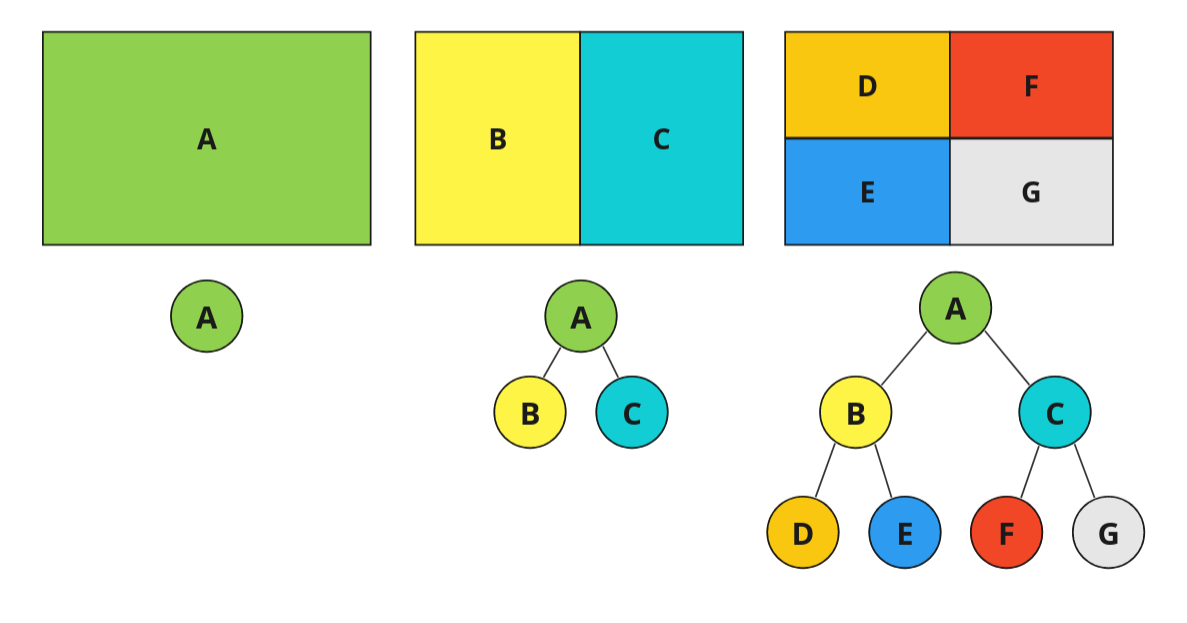
Above you can see that each time the space is split, it is added to our tree structure.
We will use BSP to split a space into rooms and then use paths to connect these together. We can also control a lot of this programmatically, varying the sizes of the rooms, corridors etc.
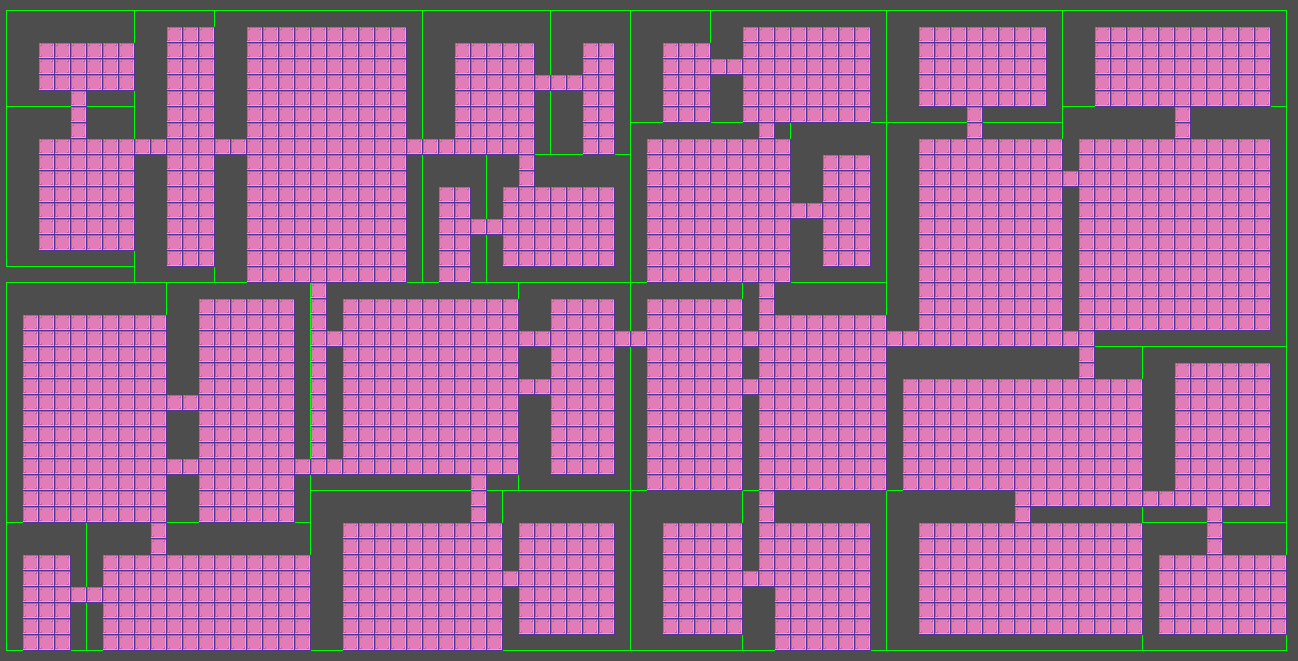
Our end result will look a little something like this.
Coding our Tree
The first thing we are going to need is a data structure to form our tree.
We can start by implementing a single branch. The idea is that the root of our tree can be a branch, and each branch can have either zero or two child branches.
Making a reusable class in Godot is very similar to making any other script in Godot, well, nearly, we need to add a class_name identifier near the top.
extends Node

class_name Branch

var left_child:  Branch # yes, these are self referential :D
var right_child:  Branch
var position: Vector2i
var size: Vector2i
Also, we don’t need a _process() or a _ready() here. Instead, we can just include a constructor using the _init() function.
func _init(position, size):
	self.position = position
	self.size = size
At some point down the line, we are going to need to be able to get all the leaves (aka branches that don’t have children). So let’s write a quick function now to do that.
func get_leaves():
	if not (left_child && right_child):
		return [self]
	else:
		return left_child.get_leaves() + right_child.get_leaves()
This is so nice to write with gdscript. Essentially what is happening is that a leaf (no children) returns itself inside an array. Any branch above will return and concatenate the arrays of its children. You end up with something like…
[leaf] + [leaf] = [leaf, leaf]
and
[leaf, leaf] + [leaf, leaf] = [leaf, leaf, leaf, leaf] etc.
Until you have a nice big list of all the leaves in your tree.
Next, we could start writing the core of our logic, splitting each cell recursively. But we already have everything we need to start drawing our scene. Let’s begin there, then when we start splitting we will be able to see what is happening.
For this, our scene can be super simple, let’s just start with a Node2D and attach a script.
extends Node2D

var root_node: Branch
var tile_size: int =  16
I am adding the tile size now, as later on we will be replacing this with a tilemap that uses 16x16 tiles.
In this script we won’t need a _process() function, but we will need _ready() and _draw().
func _ready():
    pass

func _draw():
    pass
These can be pretty simple for now too. In our _ready() function we just create our first branch and ask Godot to queue a redraw of the scene.
func _ready():
    root_node  = Branch.new(Vector2i(0, 0), Vector2i(60, 30)) # 60 tiles wide and 30 tall
    queue_redraw()
    pass
And in our _draw() function we are just going to draw all the leaves.
func _draw():
    for leaf in root_node.get_leaves():
        draw_rect(
            Rect2(
                leaf.position.x * tile_size, # x
                leaf.position.y * tile_size, # y
                leaf.size.x * tile_size, # width
                leaf.size.y * tile_size # height
            ),
            Color.GREEN, # colour
            false # is filled
        )
    pass
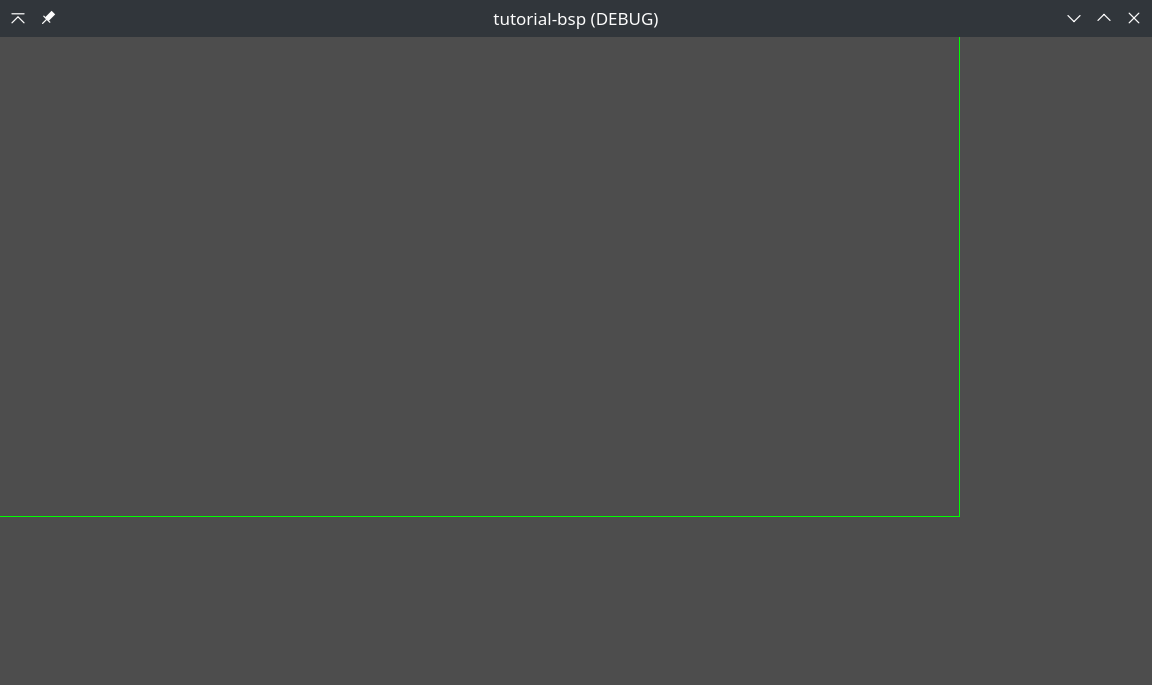
Great! Let’s see how that looks.
Now we can start splitting our space up into rooms. In our Branch class, we can add a function called split(), this will split the current branch into two.
We will be using a random number generator to decide the percentage to use when splitting the space. And we can use the aspect ratio to decide whether we split it horizontally or vertically, this prevents our rooms from being too narrow.
Just a note, because we can split on the horizontal or vertical, the left_child will always be the left or top, with the right_child always being the right or bottom.
func split(remaining):
    var rng = RandomNumberGenerator.new()
    var split_percent = rng.randf_range(0.3,0.7) # splits will be between 30% and 70%
    var split_horizontal = size.y >= size.x # if it is taller than it is wide

    if(split_horizontal):
        # horizontal
		var left_height = int(size.y * split_percent)
		left_child = Branch.new(position, Vector2i(size.x, left_height))
		right_child = Branch.new(
			Vector2i(position.x, position.y + left_height),
			Vector2i(size.x, size.y - left_height)
		)
	else:
        # vertical
		var left_width = int(size.x * split_percent)
		left_child = Branch.new(position, Vector2i(left_width, size.y))
		right_child = Branch.new(
			Vector2i(position.x + left_width, position.y),
			Vector2i(size.x - left_width, size.y)
		)

    if(remaining > 0):
		left_child.split(remaining - 1)
		right_child.split(remaining - 1)
    pass
A few things about the above code…
- We are trying to keep everything as
ints, this is so that it makes it easier to swap out each 1x1 for a tile in our tilemap later. - We recursively split cells until
remainingis zero. This means we only have to callsplit(5)on the root node, and it will give us 32 rooms.
Great! Now let’s call this in our game’s _ready() function.
func _ready():
	root_node  = Branch.new(Vector2i(0, 0), Vector2i(60, 30))
	root_node.split(5)
	queue_redraw()
	pass
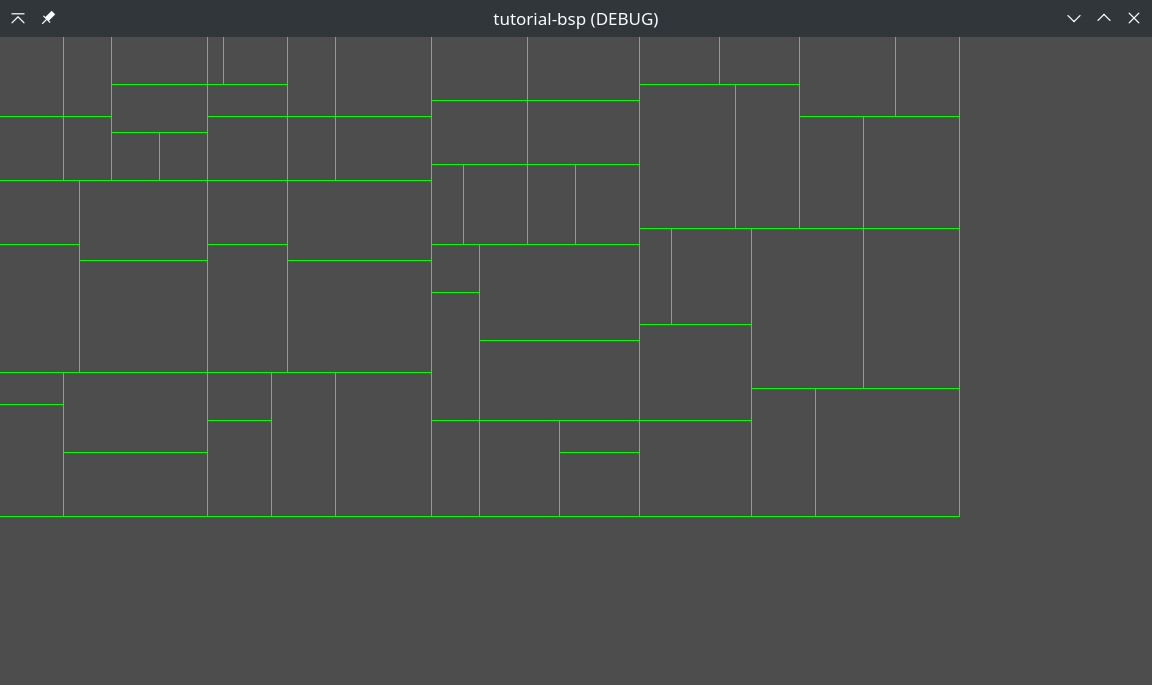
Now we are getting somewhere. Now we can set up the tilemap and use that instead of these boring green boxes.
I found this neat one on itch.io.
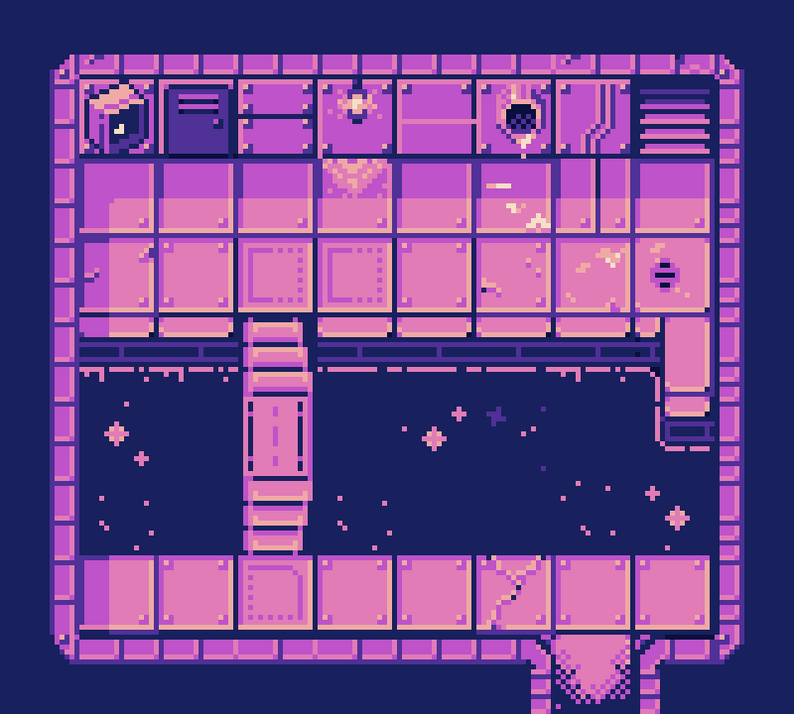
I recommend using this for the rest of the tutorial, just so that the coordinates and tile size are the same. But feel free to use whatever you like if you don’t mind fiddling with values (I will try to point out where these might be different).
Whatever you use, make sure to add it to our project folder.
Setting up our Godot Scene
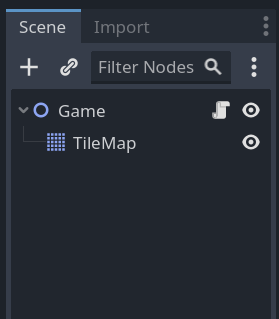
Right-click on your main Node2D, and add a TileMap as a child node.
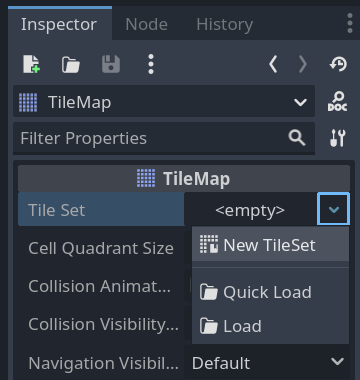
Now select your new TileMap in the scene graph and in the inspector add a new TileSet.
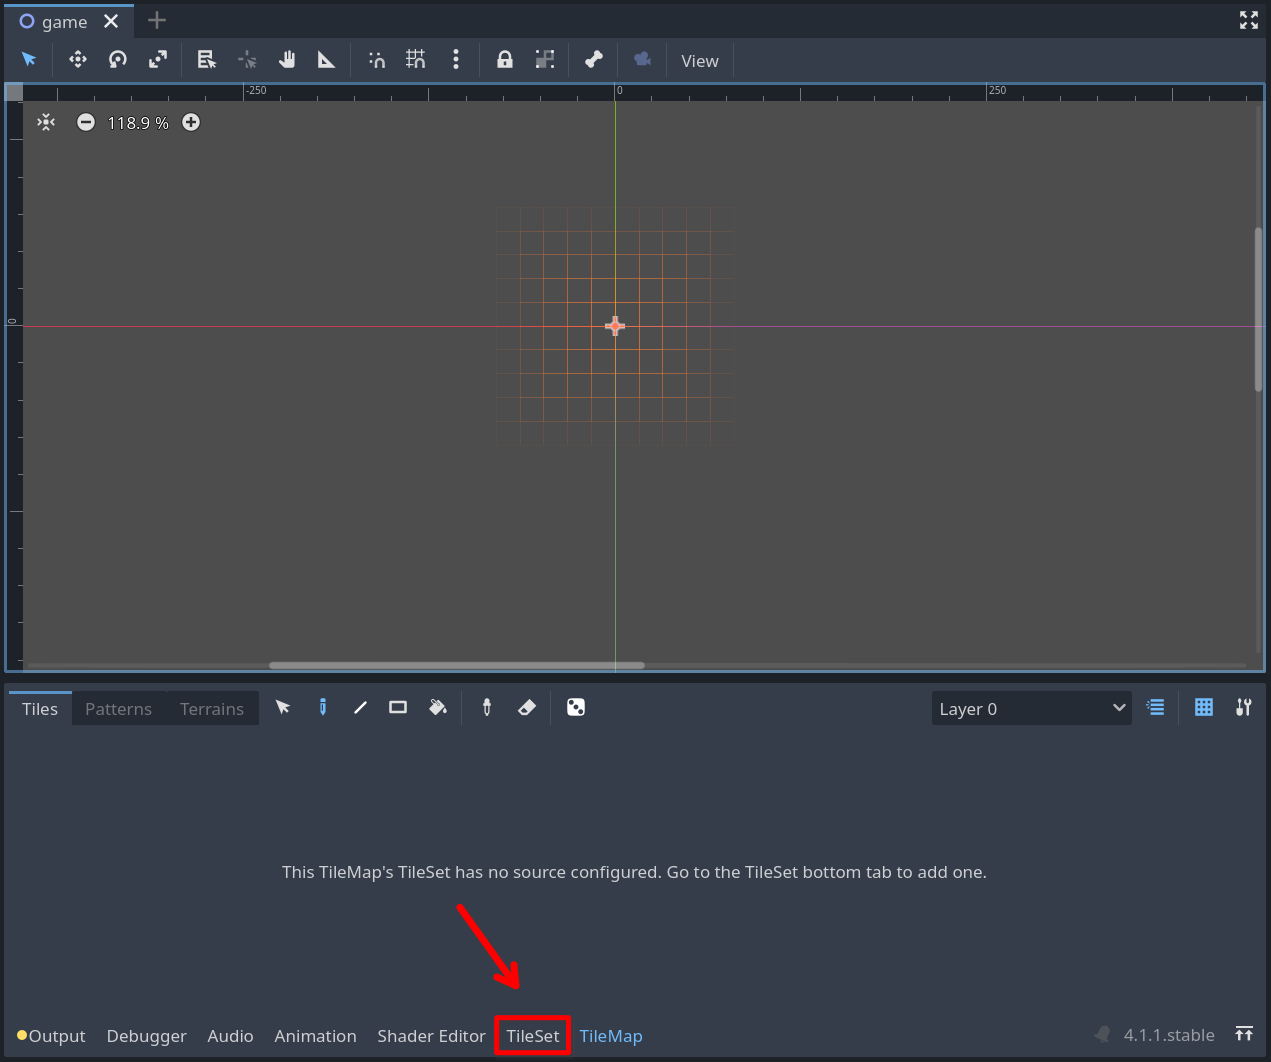
Next, we need to load the asset we downloaded. Swap to the tileset tab if you aren’t on it already.
Drag our tileset image into the Tiles area.

You might get asked if you want to ‘automatically create tiles in the atlas’. Click ‘yes’ to this.
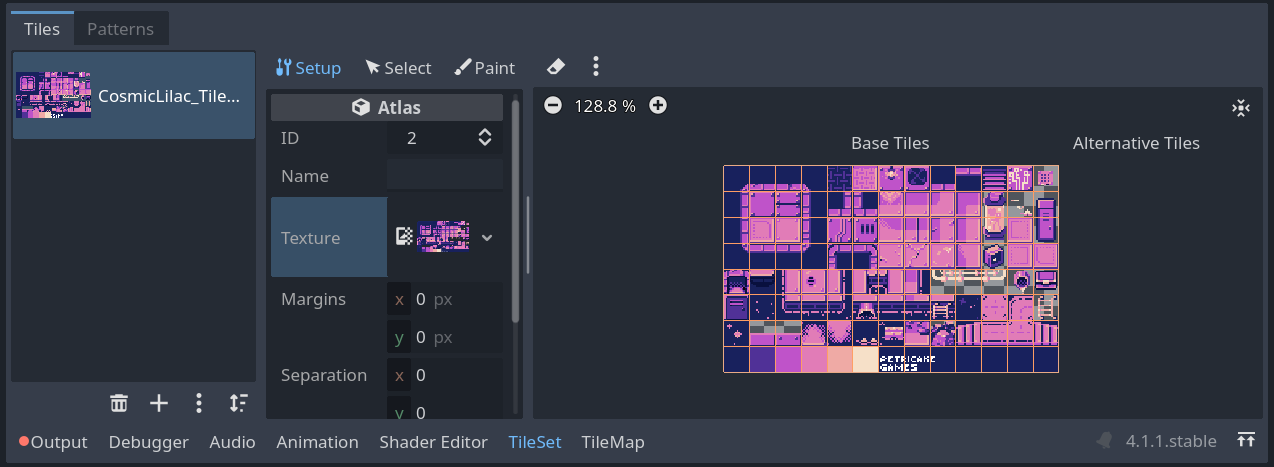
Above is what it should look like, make sure the grid here aligns with the tiles in your tileset image. If you are using a different tileset then you might have to fiddle with some of the atlas settings here.
Another thing to note is that the ID here will be used later on in the tutorial. I’m not sure why mine was automatically set to 2, but for simplicity, you might want to set yours to the same.
Let’s set up our main script so that it can access the tilemap. First, we will declare a variable near the top and then at the start of our _ready() we can get its reference.
var tilemap: TileMap
...

func _ready():
    tilemap = get_node("TileMap")
    ...
Now, to draw our tilemap we are going to use the following function.
tilemap.set_cell(layer, coords, source_id, atlas_coords)
layer- The layer in the tilemap, we will be leaving this as zero, but you might want to change this if you are using multiple layerscoords- The coordinates of the cell set in the tilemapsource_id- The ID of the atlas we will be drawing the tiles fromatlas_coords- The coordinates of the tile in the tile atlas
Let’s add this to our _draw() function.
func _draw():
    for leaf in root_node.get_leaves():
        for x in range(leaf.size.x):
            for y in range(leaf.size.y):
                tilemap.set_cell(0, Vector2i(x + leaf.position.x,y + leaf.position.y), 2, Vector2i(2, 2))
                # here Vector2i(2, 2) is where our floor is in the tileset we are using
    pass
Let’s try it out.
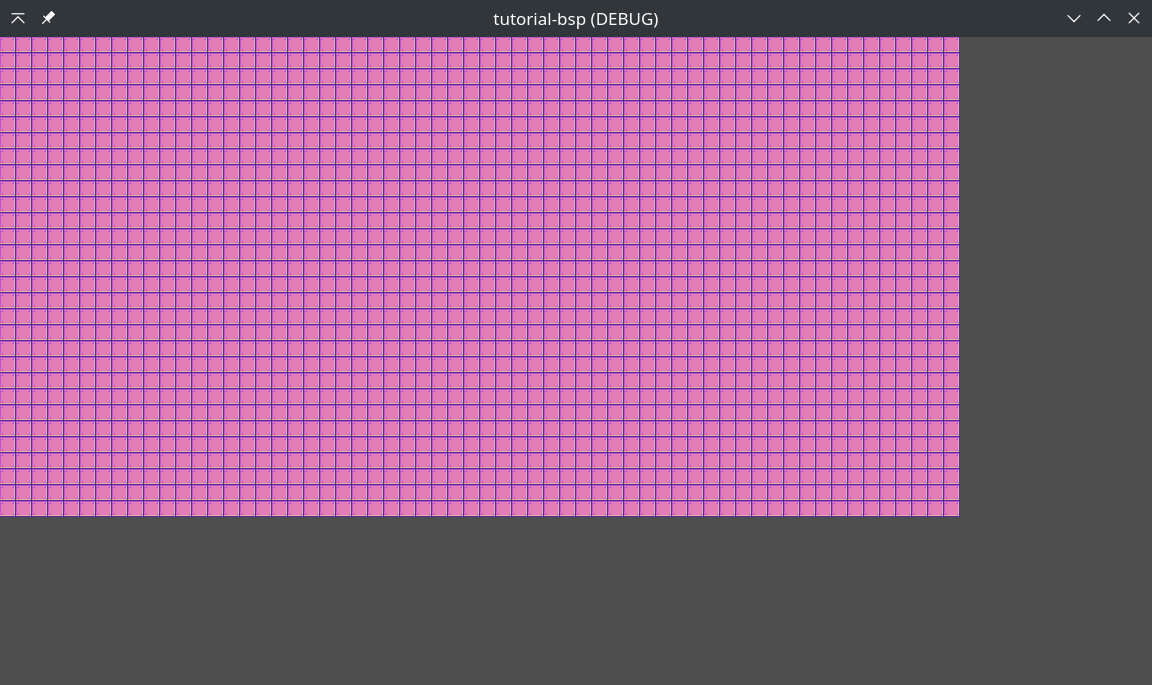
Hmmm. Something isn’t quite right here.
Well, it is exactly what we asked for, we just haven’t allowed for any gaps between the rooms yet.
Let’s generate some padding for the 4 edges of our room. And add a quick function to see if a cell in our room is inside the padding region.
For padding, we will just use a Vector4i, one value for each of up, down, left and right. Below we are randomizing to either 2 or 3 cells of padding.
var padding = Vector4i(
    rng.randi_range(2,3),
    rng.randi_range(2,3),
    rng.randi_range(2,3),
    rng.randi_range(2,3)
)
And a function to check if our cell is inside.
func is_inside_padding(x, y, leaf, padding):
	return x <= padding.x or y <= padding.y or x >= leaf.size.x - padding.z or y >= leaf.size.y - padding.w
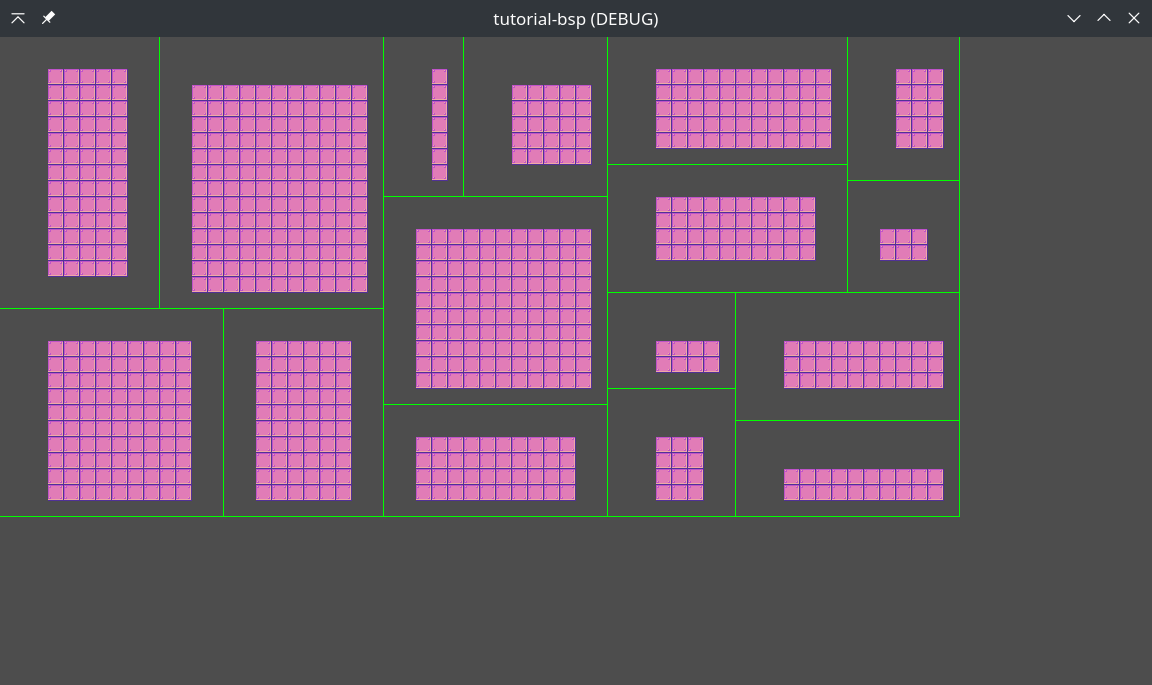
Let’s put that all together in our _draw() function and try it out.
func _draw():
    var rng = RandomNumberGenerator.new()
    for leaf in root_node.get_leaves():
        var padding = Vector4i(
            rng.randi_range(2,3),
            rng.randi_range(2,3),
            rng.randi_range(2,3),
            rng.randi_range(2,3)
        )
        for x in range(leaf.size.x):
            for y in range(leaf.size.y):
                if not is_inside_padding(x,y, leaf, padding):
                    tilemap.set_cell(0, Vector2i(x + leaf.position.x,y + leaf.position.y), 2, Vector2i(2, 2))
    pass
I have left the green rectangle drawing on for now, this is handy for debugging until we have everything working.
Now all we need to do is link the rooms up. The easiest way to do this is to draw paths between the centre of each split partition.
The first step is to figure out the centre of each room, let’s add a function to our branch.gd to do this.
func get_center():
	return Vector2i(position.x + size.x / 2, position.y + size.y / 2)
Now we need to figure out how to connect the centres. We are going to make a paths array and pass it into our Branch.split() function.
Something like Branch.split(remaining, paths).
...
var paths: Array = []

func _ready():
    ...
    root_node.split(3, paths)
Then we can add this to our _split() function.
func _split(remaining, paths):
    ...
    paths.push_back({'left': left_child.get_center(), 'right': right_child.get_center()})
Almost there, the only thing left to do is add the path drawing to our _draw() function.
func _draw():
    ...
    for path in paths:
		if path['left'].y == path['right'].y:
            # horizontal
			for i in range(path['right'].x - path['left'].x):
				tilemap.set_cell(0, Vector2i(path['left'].x+i,path['left'].y), 2, Vector2i(2, 2))
		else:
            # vertical
			for i in range(path['right'].y - path['left'].y):
				tilemap.set_cell(0, Vector2i(path['left'].x,path['left'].y+i), 2, Vector2i(2, 2))
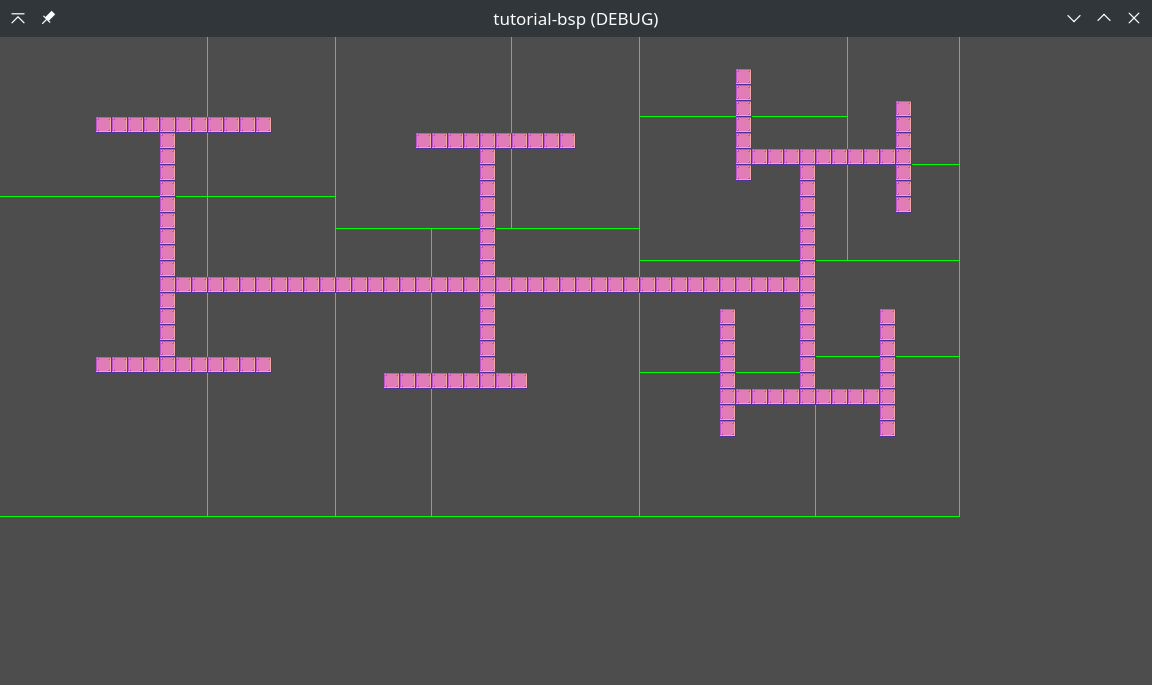
Let’s run that and see what it looks like.
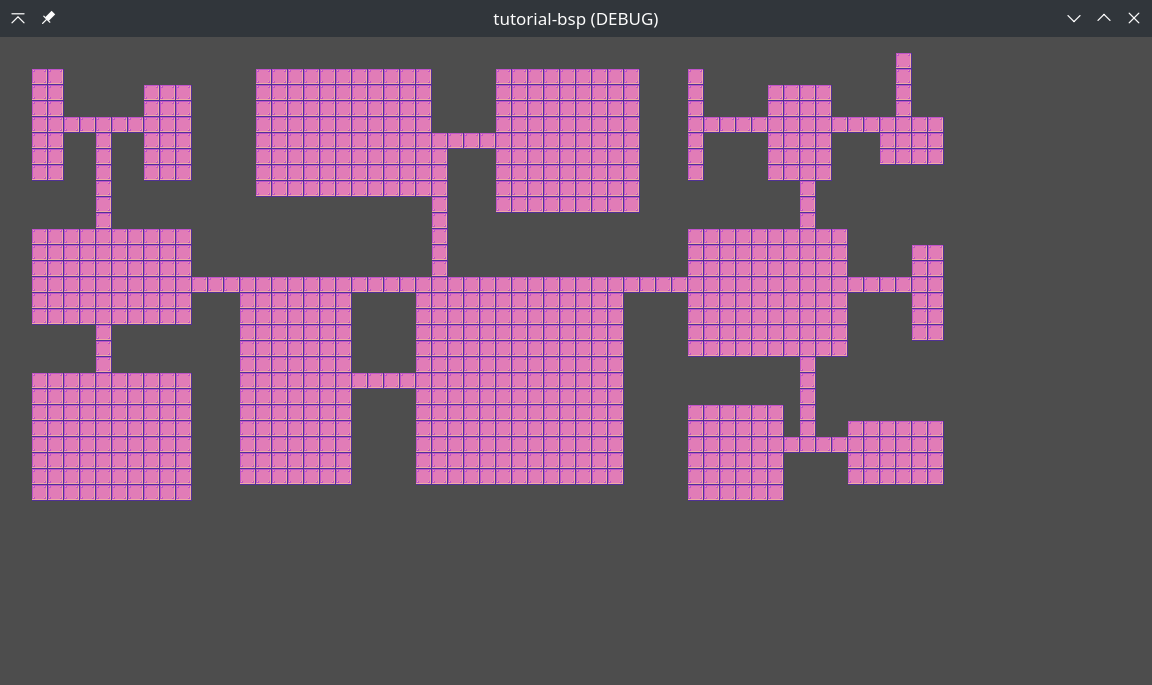
This is looking great so far. If you want to take this a bit further I will leave some ideas below.
- More Objects - Randomly place some of the objects (chests, TVs, test tubes) on a new layer above empty tiles
- Add Walls - The tilemap includes walls, why not place them around the edges of the rooms and paths
- Spaceman - For only $1 you can get the matching spaceman animation, support the artist and have a go with Godot’s CharacterBody2D.
You might end up with something like this…
Source code available here.