Making Conway's Game of Life in Godot
I saw a great question on Reddit recently about how someone can get started with procedural generation in Godot. And as a fan of both, I thought it would be fun to give it a go and maybe make a bit of a tutorial.
Note: This will be done in Godot 4.1. If using an earlier version, the code might be a little different.
We will be making Conway’s Game of Life.
Let’s get started with a question…
What is Cellular Automata?
And while I could try my best to explain it here. Many people have already done a better job than I could ever do. In particular, I like this explanation in The Nature of Code by Daniel Shiffman.
What are we going to be making today?
I think at some point in every coder’s life, you should have the pleasure of coding Conway’s Game of Life. It is a deeply interesting Cellular Automaton that can create complex and interesting behaviour from just three simple rules.
We start with a grid of cells where each cell can have one of two states. We will refer to this as alive and dead, although in code this will probably just be a boolean (true or false).
Each time we iterate over the grid, the state of the cells will be determined by the state of their neighbours in the previous iteration.
The three rules we use to determine these states are…
- Birth - If a dead cell has exactly 3 neighbours, it becomes alive in the next iteration.
- Death - If an alive cell has more than 3 or less than 2 neighbours, it dies in the next iteration (this is often described as dying from overpopulation or loneliness).
- Stasis - In all other cases, what is alive stays alive and what is dead stays dead.
As we will see later, these three simple rules can result in some very interesting creations. You can see some of them here on the Wikipedia page.
Let’s get coding
Godot Scene Set Up
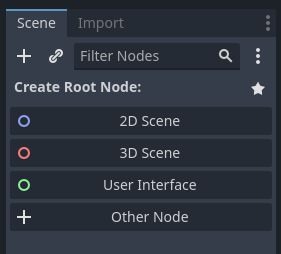
In Godot, we are going to start with a 2D scene.
The nice part about this particular problem is that we don’t have to muck around in the editor and the UI too much. We should be able to create a single cell and then instance that as needed through code.
The other nice thing we have going for us is that each new Godot project includes the Godot logo, let’s just use that for an alive cell and turn the sprite off to represent a dead cell.
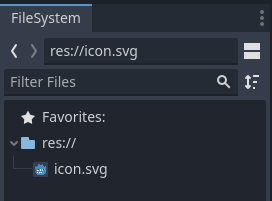
So let’s create a new Sprite2D node under our Node2D at the root of our scene. Just click the + button and search for Sprite2D.
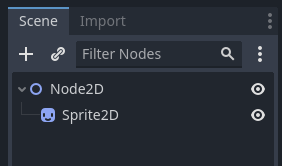
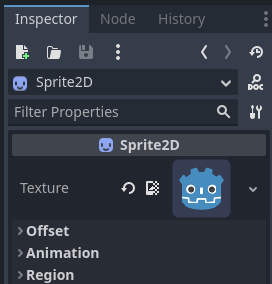
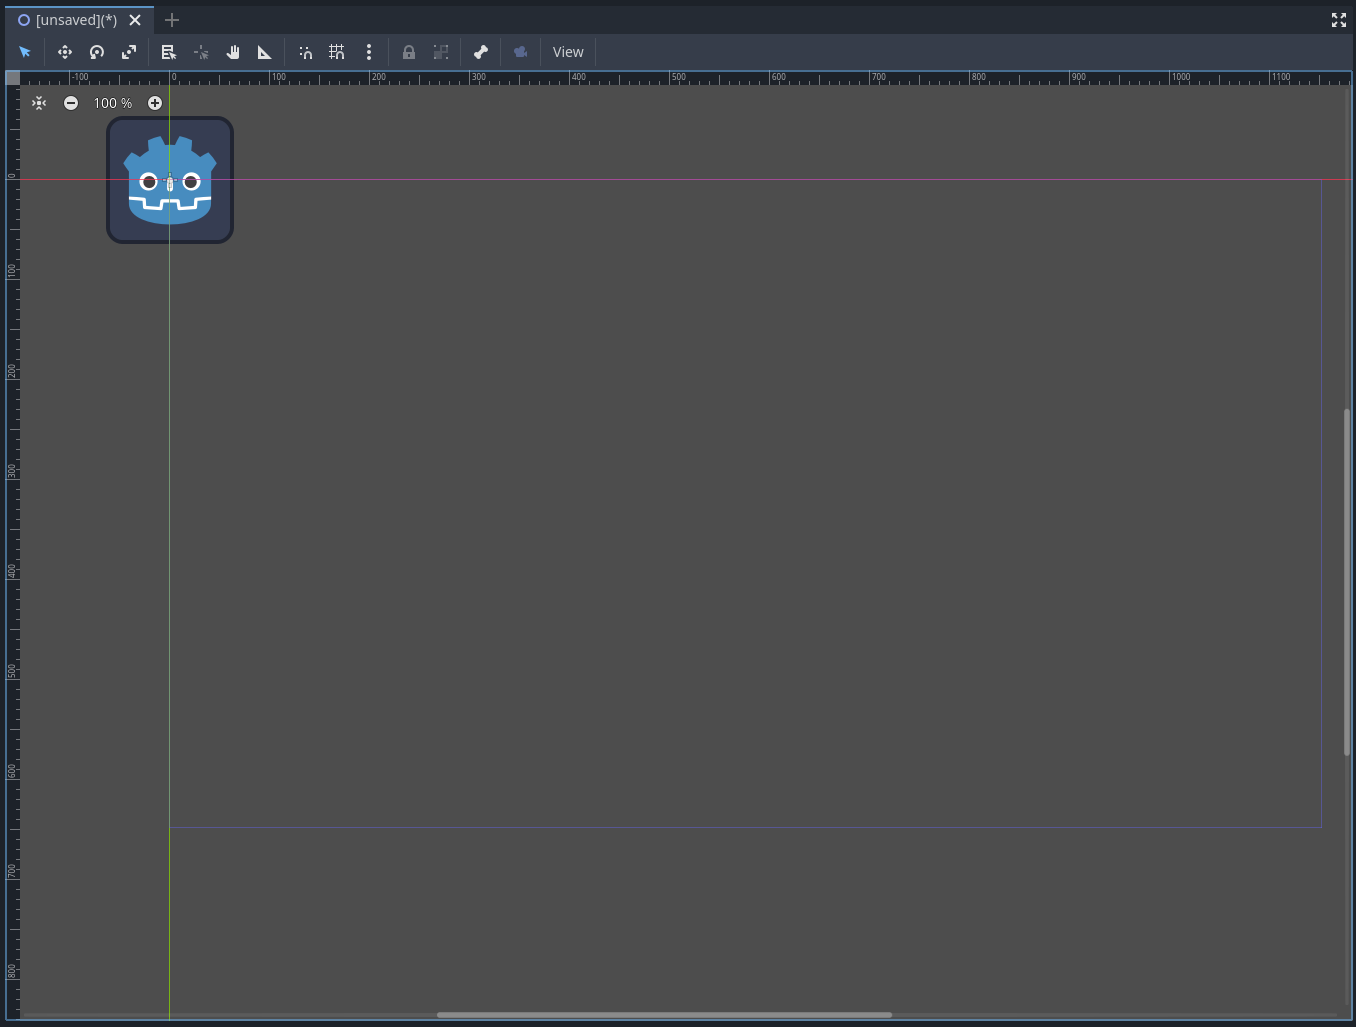
If we click on our new Sprite2D we can drag our icon.svg onto its texture attribute in the inspector. It should look like this…
We should also see the logo now appear in our scene view too.
This is also probably a good time to save our scene for the first time. Before we do that though, let’s rename some things so they make more sense. Let’s call our root Node2D ‘Game’ and our Sprite2d ‘Cell’.

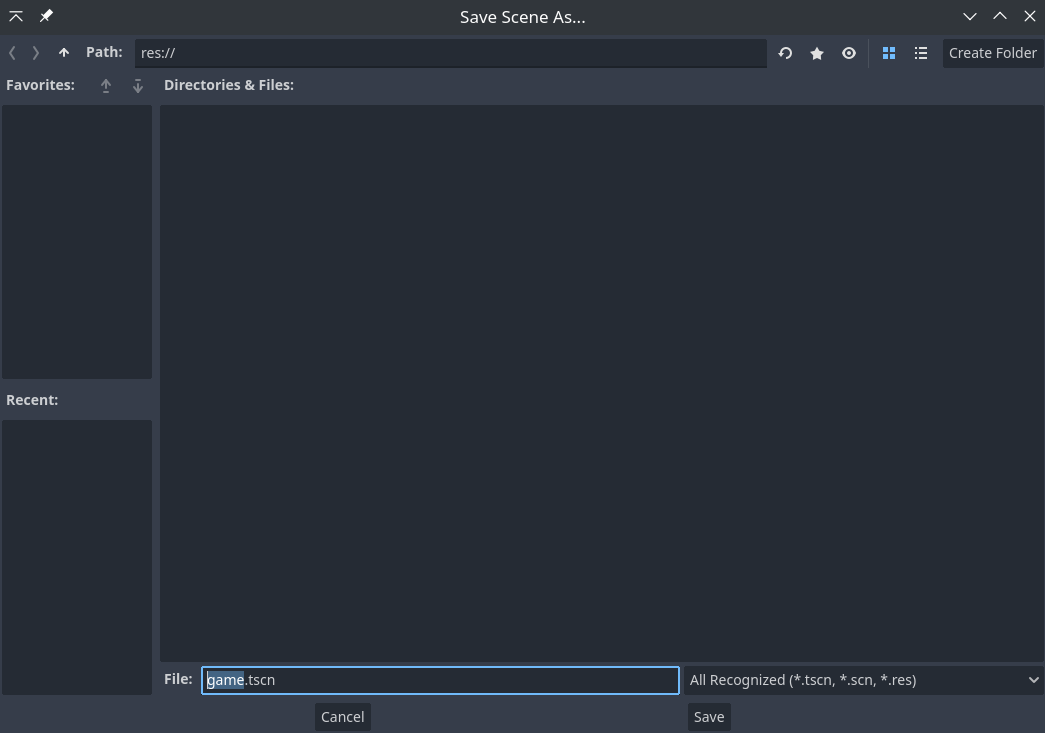
And now when we save our scene, it will prompt us to name it ‘game’. Since this is such a small project we will just save everything into the main directory of the project. But if you are working on something better, it might pay to organise files into a folder structure.
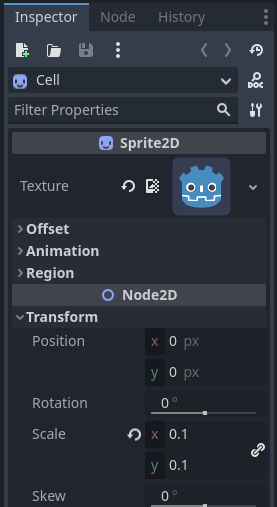
Now let’s get our cell ready to be reused again and again to represent our grid. First let’s make it smaller, after selecting the Cell in the scene graph, look in the inspector for the transform section under Node2D and change the scale to 0.1.
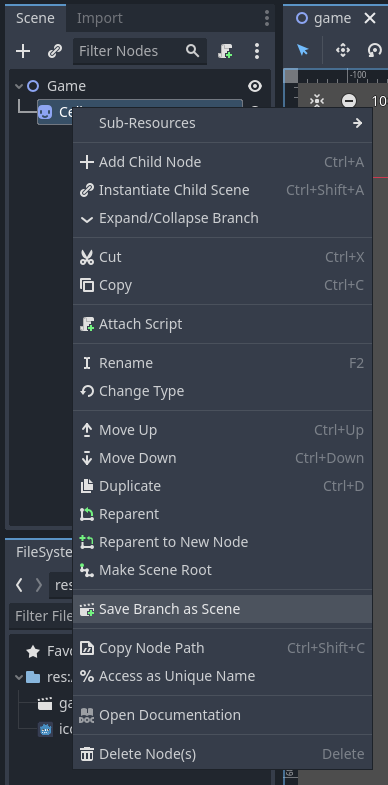
Next, we can save our little cell as its own scene, this way we can reuse it as much as we like. Right-click on our cell in the scene graph and select ‘Save Branch as Scene’.
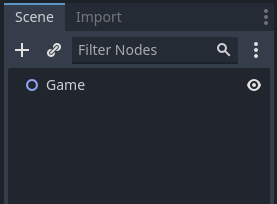
Now we can delete our cell from our game scene as we will be instantiating them all through code. We can always reopen the scene we saved if we want to edit our Cell.
Coding our cellular automaton
Great. Now we have a scene setup, the rest is just writing code.
Right-click on our Game node and choose ‘Attach Script’. Make sure to use GDScript here and save this to the project folder too.
You will be greeted with a screen that looks like this, and two default functions. The _ready() function will be called when the script first runs and the _process(delta) will be called each frame (the parameter delta is the time since the last frame was rendered).
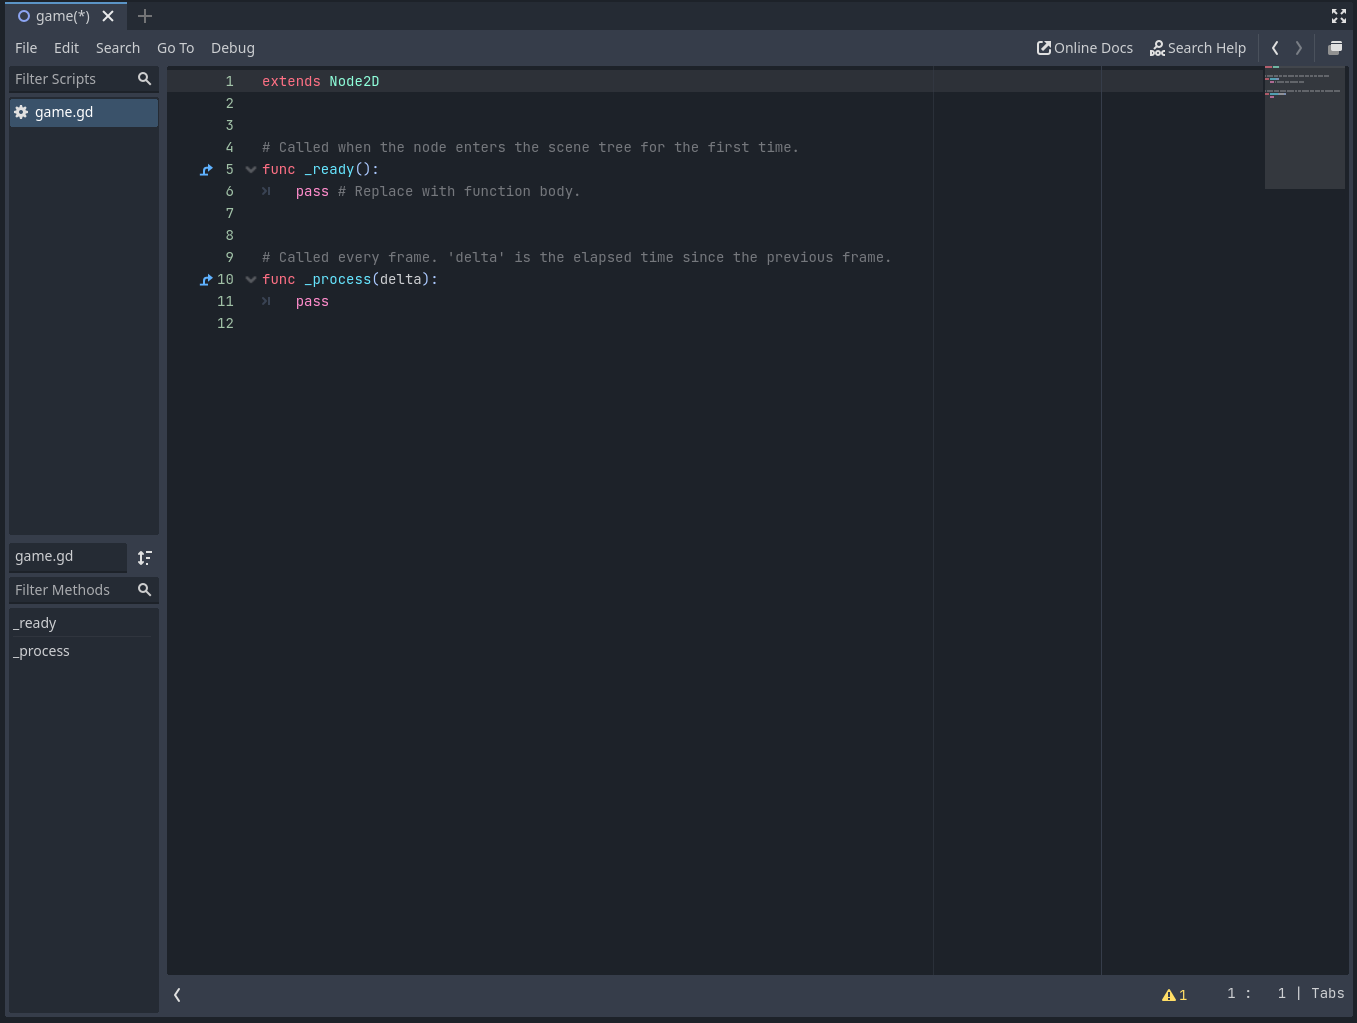
You can use the bar along the top to swap back and forth between our scripts and our 2d Scene.

Let’s start out by instantiating a grid of logos that are randomly on and off.
We will start by defining a few variables at the top of the code under extends Node2D.
@export var cell_scene : PackedScene
var row_count : int = 45
var column_count : int = 80
var cell_width: int = 15
A few things are happening here. Hopefully, the bottom few declarations make sense, this is just the number of rows and columns our grid will have, also the width of our cell sprite. You can play around with any of these factors and the scale of the cell sprite, this is just what worked nicely for me with all the default project settings.
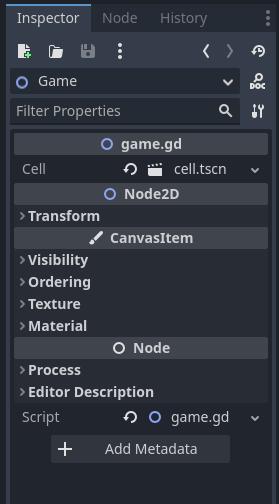
The first one however uses @export, which means that the variable will appear in the inspector, this is great because it means we can just drag and drop our cell scene onto this variable to set it (rather than having to type out its file path).
Let’s hop over to our _ready() function and set up some for loops to handle the rows and columns…
func _ready():
    for column in range(column_count):
		for row in range(row_count):
            print(column, ", ", row)
    pass
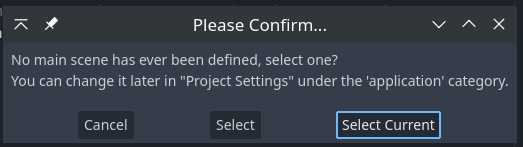
Awesome let’s try to run our game for the first time. You will probably get a prompt asking you to choose what scene you want to use as your default scene. We want to make sure that we choose the Game scene here, which should be the current one.
Great we get a blank screen, but you should see all the x and y coordinates printed to the console output. Now to spawn our cells we just need to instantiate them, add them as a child to our scene and then set their position in the grid.
func _ready():
	for column in range(column_count):
		for row in range(row_count):
			var cell = cell_scene.instantiate() # instantiate the cell
			self.add_child(cell) # add it to our scene
			cell.position = Vector2(column * cell_width, row * cell_width) # set its position based on what column and row it is
	pass
Now if we run our game we should see a lovely grid of cells! Excellent!
What we want though is to randomly turn some on and some off when we start. We can use a random number generator to toggle their visibility here in our _ready() script.
func _ready():
	var rng = RandomNumberGenerator.new() # set up the random number generator
	for column in range(column_count):
		for row in range(row_count):
			var cell = cell_scene.instantiate()
			self.add_child(cell)
			cell.position = Vector2(column * cell_width, row * cell_width)
			if(rng.randi_range(0,1)): # randomly generate 0s or 1s (these will be interpretted as true and false)
				cell.visible = false # make some invisible
	pass
Great we should now be looking at something like this.

The problem we are going to run into next is that we need to keep a reference to these cells and where they are in the grid so we can use the Game of Life rules on them. So let’s add an array to keep track of everything.
var cell_matrix: Array = []
And then for each column, we add an array to this. And for each cell, we add it to the column array.
Something like this…
func _ready():
	var rng = RandomNumberGenerator.new()
	for column in range(column_count):
		cell_matrix.push_back([]) # create an empty array to hold the cells for this column
		for row in range(row_count):
			var cell = cell_scene.instantiate()
			self.add_child(cell)
			cell.position = Vector2(column * cell_width, row * cell_width)
			if(rng.randi_range(0,1)):
				cell.visible = false
			cell_matrix[column].push_back(cell) # add this cell to the appropriate column array
	pass
We are making great progress. Although now we need to think a little bit about how we are going to implement our rules. One problem I can see us running into is that we aren’t going to be able to just iterate over our grid and change the visible value of our cells. If we were to do this, then our rules would be applied to some cells before others and those changes would impact everything. The rules need to be applied to all cells at the same time.
The easiest way to do this is to keep another array that stores the cell’s previous state while we go ahead and update them for their current state.
And we might as well set this up similarly to how we did the other one. Our code should be looking something like this now…
extends Node2D

@export var cell_scene : PackedScene
var row_count : int = 18
var column_count : int = 32
var cell_width: int = 35

var cell_matrix: Array = [] # our reference to our actual cells
var previous_cell_states: Array = [] # a matrix of our previous state

func _ready():
	var rng = RandomNumberGenerator.new()
	for column in range(column_count):
		cell_matrix.push_back([])
		previous_cell_states.push_back([]) # add a new array per column
		for row in range(row_count):
			var cell = cell_scene.instantiate()
			self.add_child(cell)
			cell.position = Vector2(column * cell_width, row * cell_width)
			if(rng.randi_range(0,1)):
				cell.visible = false
				previous_cell_states[column].push_back(false) # add false for the cell if it is turned off
			else:
				previous_cell_states[column].push_back(true) # add true for the cell if it is turned on
			cell_matrix[column].push_back(cell)
    print(previous_cell_states)
	pass

func _process(delta):
	pass
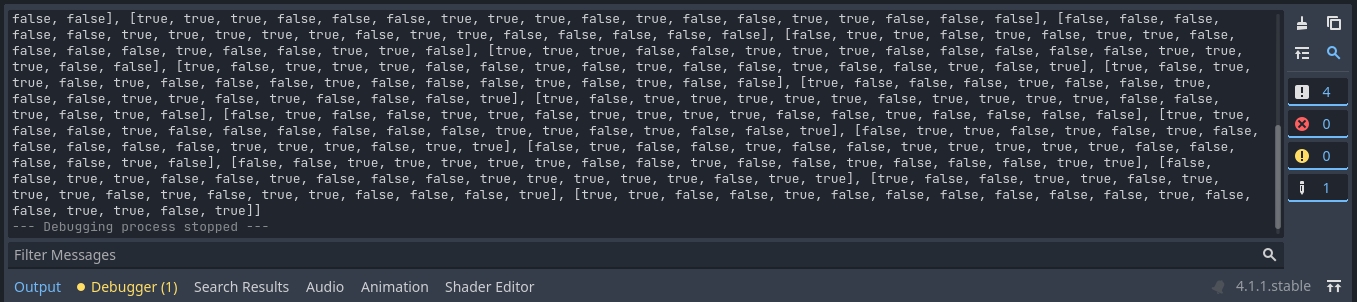
You can also see that I added a print statement here. When we run the code we should not only see our cells, but in the console output, we should see our nice array of trues and falses.
Is this going to be the most efficient implementation of Conway’s Game of Life in Godot? Probably not. But here we are aiming for readability over performance.
Now that we are starting to think about what will happen each iteration we can start to lay out our _process() function.
The first thing we want to do is transfer the current state of the cells to the previous_cell_states matrix we made before. To do this, let’s just copy it across in a couple of loops.
func _process(delta):
	# save each cells state to the old state array
	for column in range(column_count):
		for row in range(row_count):
			previous_cell_states[column][row] = cell_matrix[column][row].visible

    pass
Next, we can block out the rest of the code. We are going to need a function that determines a cell’s next state. We can make a placeholder function and finish off the rest of the _process() function while we are at it.
func get_next_state(column, row):
    return false

func _process(delta):
    # save each cells state to the old state array
	...

	# update current state
	for column in range(column_count):
		for row in range(row_count):
            cell_matrix[column][row].visible = get_next_state(column, row)

	pass
This should give you a pretty good of how we are going to lay things out. We can break logic up into different functions and try not to do too much all at once.
Something else we are going to need to consider is that at the edges of our grid, we are going to run into problems. How do you calculate the next state of a cell on the edge? There will be neighbours outside of our array that will break our code.
An easy fix for this is to set all the edges to dead and never update them. This does mean that our life will essentially die when it gets to the edge, but it will also make everything else easy to calculate.
Let’s start with a simple function that can detect the edges of our grid.
func is_edge(column, row):
	return row == 0 or column == 0 or row == row_count - 1 or column == column_count - 1
This returns true if the position is along the top, left, bottom or right edges of the grid.
Nice!
Now we need to make the most of that in two places…
Firstly when setting up the grid we can make sure all the edges are dead.
...
if rng.randi_range(0,1) or is_edge(column, row):
    cell.visible = false
That was easy, we just added it to our if statement in our _ready() function. Secondly, we need to only update cells that aren’t on the edge.
# update current state
for column in range(column_count):
    for row in range(row_count):
        if !is_edge(column, row):
            cell_matrix[column][row].visible = get_next_state(column, row)
Here we added an if statement so we only update the cell using get_next_state() if it isn’t on the edge.
Now we just need to sort out our get_next_state() function and we should be done.
There are two things we need to figure out the future state of a cell.
- Its current state
- The number of neighbours it has that are alive
The first is easy. The second might take some finagling.
Probably better to just extract it into a function.
func get_count_of_alive_neighbours(column, row):
	var count = 0
	for x in range(-1, 2):
		for y in range(-1, 2):
			if not (x == 0 and y == 0):
				if previous_cell_states[column + x][row + y]:
					count += 1
	return count
Above we use two for loops to iterate over a 3x3 grid around our cell. Here x will go -1, 0, 1 and so will y. If x and y are both 0 at the same time, then we skip the cell, as it shouldn’t include the cell itself.
Great, now we can finally get to our logic that handles Conway’s rules.
func get_next_state(column, row):
	var current = previous_cell_states[column][row]
	var neighbours_alive = get_count_of_alive_neighbours(column, row)

    # death
	if current: # true if alive
		if neighbours_alive > 3:
			return false
		elif neighbours_alive < 2:
			return false
    # birth
	else:
		if neighbours_alive == 3:
			return true
    # stasis
	return current
Hopefully, with the comments, it is easy enough to see how we handle death (alive cells that die from not enough or too many neighbours), birth (dead cells that come to life when they have exactly 3 neighbours) and stasis (where the state doesn’t change).
And now we can hit play again to see the finished product.
I hope you had as much fun making this as I did. After doing something like this you should be ready to try out some other algorithms. Maybe next time we can use Cellular Automata to generate a dungeon like this.
You can find the full code here.